
Okay guys, I am sure that you have all seen these super cute and fun fur pom poms on hats lately. Everyone is loving them, especially me! So naturally I wanted to offer hats to my customers with them but I ran into a dilemma...my beloved Hobby Lobby {which I like to affectionately call "Hobby Lobs"} only seems to have couple of them every time I go to get some. And that presents a small problem. If I was to offer them, I need to make sure that I have plenty of them or can get them super fast. They also cost $2.99 each which would either raise the cost to my customers or cut into my earnings.
I was discussing this with my husband while riding in the car one day and he suggested I make my own. I immediately rejected his idea as being crazy and impossible. I was sure that there was no chance that I could find the "fur" and make them just as fabulous.
Well I did!!! And guys, they are super easy...and super messy. You might want to tackle this while your husband is away.
Here is what you will need:
fur fabric {I started with 1/4 yard}
embroidery floss or crochet thread
needle
stuffing or something else to stuff in the poms to give them shape
scissors
Sharpie for tracing pattern
VACUUM
I bought 1/4 yard at $19.99/yard and got 30% off. I was able to get 12, 5" circles out of it. So it only cost me $.25 for each pom pom. Way better than $2.99 each.

Caution: When going to make your purchase of "fur" {it is actually a type of fabric} DO NOT hold the large, bulky, awkward bolt against your body. You will look like sasquatch. And if you still have places to go afterwards like I did, it is not a good idea.

I decided to cut my fur on the floor to contain the mess a little better and make cleaning up easier. Keep the vacuum handy, you will need it!
Begin by tracing a circle on the fabric. The bigger the circle, the bigger the pom will be. It might take a couple times to find the perfect size for you. Once I figured out the size I wanted {a 5" diameter} I traced that size on an empty pop box to make a pattern.
Once I cut out my circle, I kinda pulled at the edges to try and remove any of the loose hairs from around the edges. Then when I had one made that I was happy with, I went ahead and cut out all the rest at once, removed the lose hair, and then vacuumed it up to help cut down on all the mess.

When you have the circles ready, you will take your thick thread and losesly stitch around the edge of the pom. It won't really matter what color thread you use, unless you want to use also use it to sew the pom to the hat and save yourself some extra work later. In that case you might want to use a color that will either match the hat you are putting it on or match the fur. That way when you sew it on it will be hidden even more.

Next you are going to pull on the thread, gathering the edges together and starting to form the pom.

After that, add a little stuffing to help give it shape

Now comes the tricky part....pull those threads as tight as you can to close that hole off as much as possible and tie it shut. Mine kept wanting to pop back open when I went to tie them so it would be really helpful if maybe you had an extra finger to help.

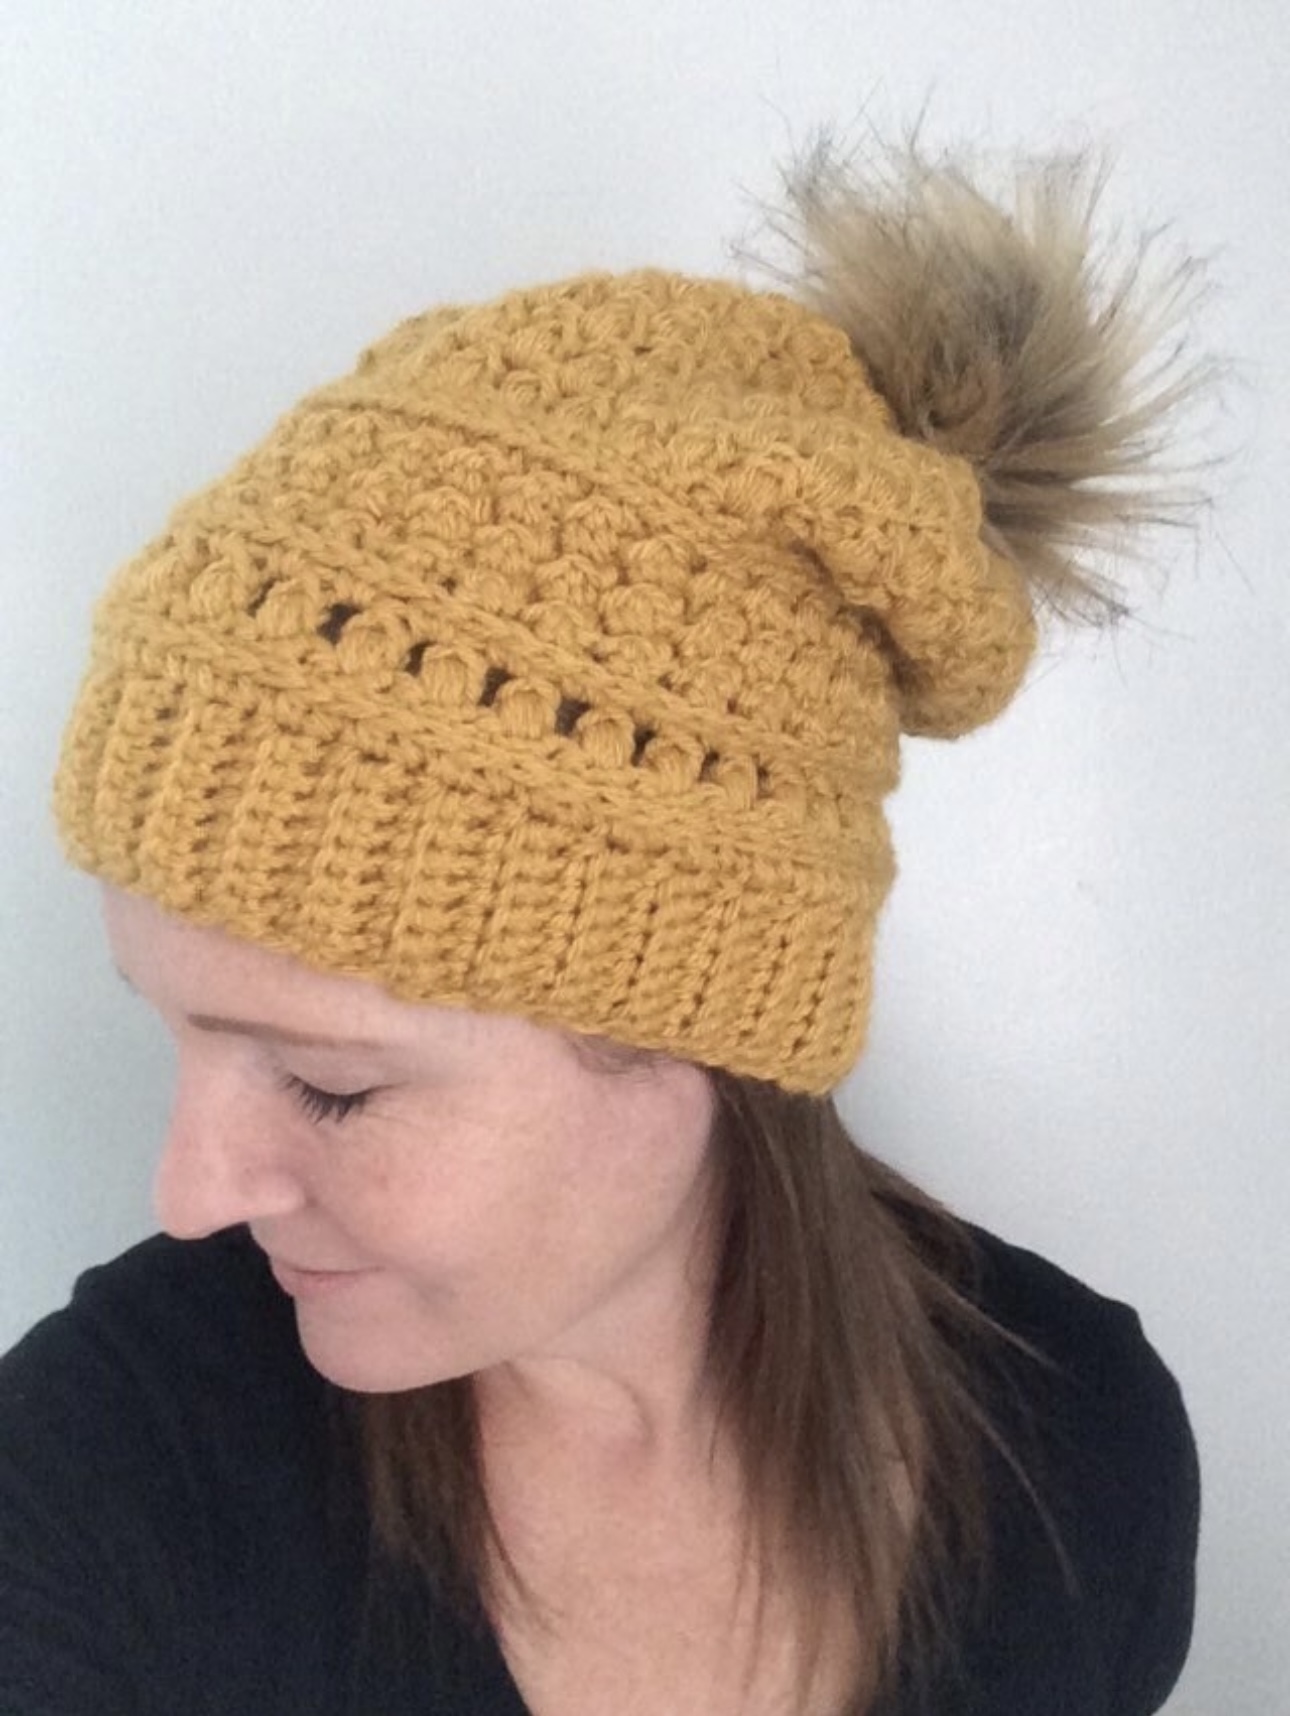
Tada!!! You now have a super fun fur pom pom!
Now go run out and grab your supplies...CAREFULLY.
~Maggie


.jpg)


0 Comments:
Post a Comment