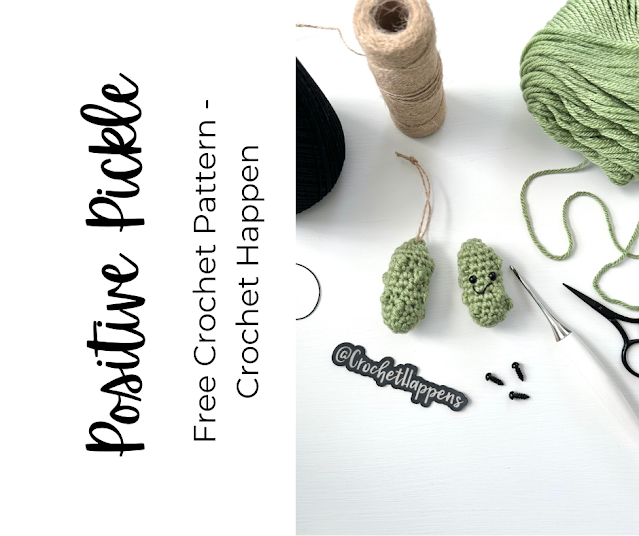
Materials
- Worsted Weight Yarn
- C / 2.75 mm crochet hook
- Stitch Marker or piece of scrap yarn.
- Tiny bit of stuffing or scrap yarn for stuffing.
- String or ornament hook for hanging.
- Darning needle
- 6mm Safety eyes (Positive Pickle)
- Black thread or yarn
- Mini Ball Jar (optional)
Stitches Used
SC = Single Crochet
TR = Treble/Triple Crochet
SC2tog = Single Crochet 2 together
Pattern
Round 1: SC 6 in magic circle, place marker (6sts)
Round 2: 2SC in each stitch to marker (12sts), place marker.
Round 3: SC in each stitch to marker (12sts), place marker.
Round 4: (SC in first 3, Triple Crochet) to marker (12sts), place marker.
**At this point I like to weave in the tail to secure the bottom.
Round 5: SC in each stitch to marker (12sts), place marker.
Round 6: SC in the first stitch,(TR, SC in next 3) to marker, ending with SC in last 2 stitches (12sts), place marker.
**I usually give the "bumps" a little push to the outside as I go.
Round 7: SC to marker (12sts), place marker.
Round 8: SC 7, TR, SC 3, TC, place marker (12sts).
Round 9: SC to marker (12sts), place marker.
At this point I pause to add the mouth and eyes. I place the mouth in the open spot just made on round 7 and eyes (2 stitches apart) between rounds 8 & 9.
I like to use a piece of crochet thread for the mouth, but you could use embroidery floss or a piece of scrap yarn.
Round 10: SC in the first stitch, (TR,SC in next 3) to marker ending with SC in the last 2 stitches (12sts), place marker.
Round 11: SC to marker (12sts), place marker.
Round 12: SC to marker (12sts), place marker.
**At this point stop and fill your pickle with either stuffing or scrap yarn.
Round 13: SC2tog to marker (6sts) Fasten off yarn.
Finishing
To close the top of your pickle, weave the tail of the yarn through the front loops of the top stitches using a yarn needle then pull tight to close. Finish by weaving the tail around the circle a couple times and tucking the tail inside the pickle.
Tada! You now have a super cute Positive Pickle of your own. You can add a keychain, attach to a card and place in an organza bag, add to a mini jar... so many options with these little guys.
Don't forget to tag me and share your photos!
Happy Crocheting,
~Maggie


.jpg)


0 Comments:
Post a Comment